

Installation Instructions
RRS Powered Rack & Pinion Steering Kit
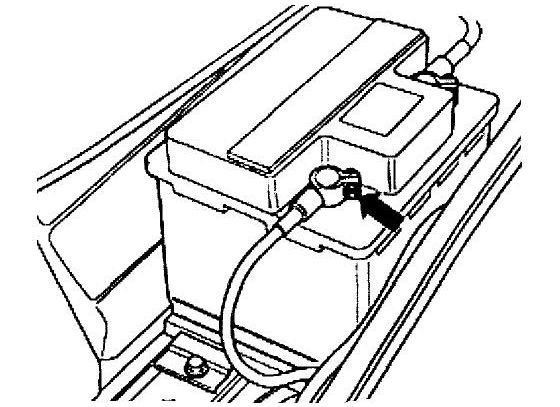
STEP 1:
Immobolise Vehicle by disconnecting the battery.
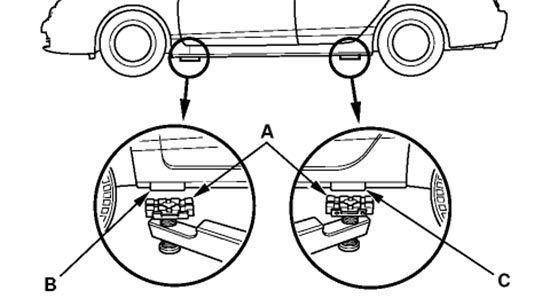
STEP 2: Jack up vehicle on a flat workshop area.
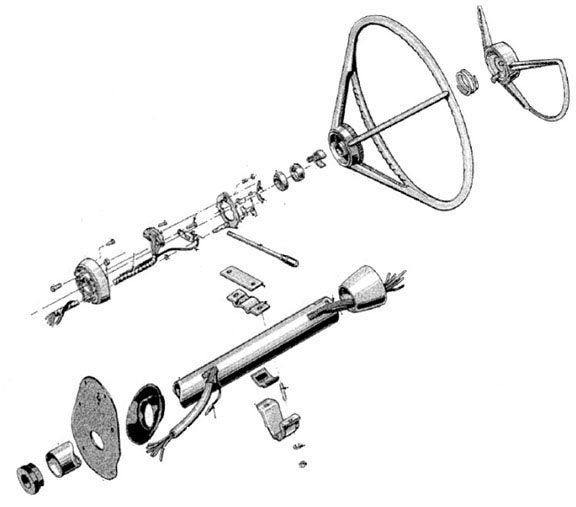
STEP 3:
Remove steering column as per factory repair manual.
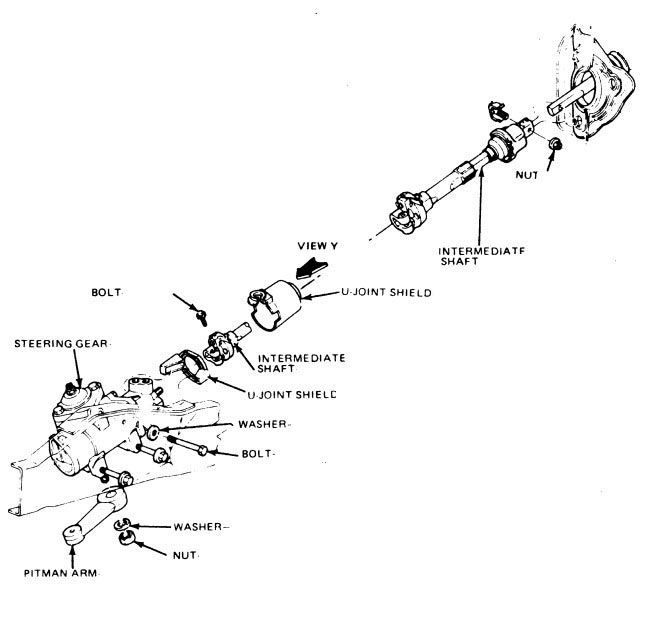
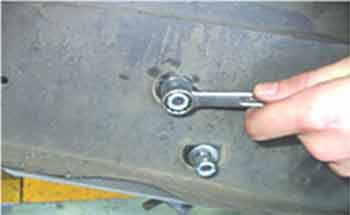
STEP 4:
Remove steering box, ilder arm and drag link as factory repair manual.
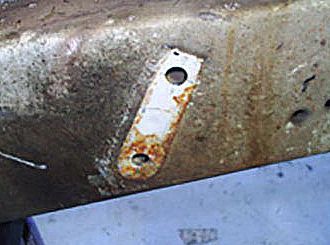
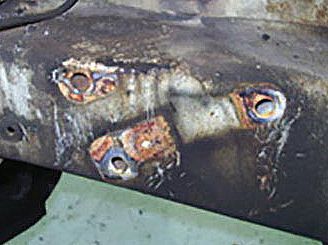
STEP 5: Make sure all OEM steering box, Idler arm bolt holes and chassis rails are in good order and free from burs, obstructions or damage.
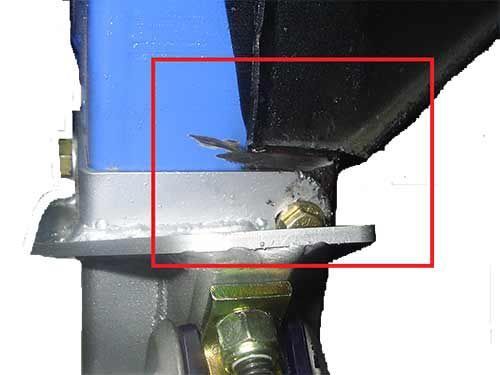
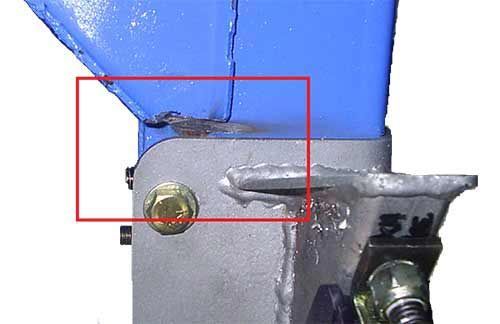
Important Note Australian Falcon models XB, XC, and XD chassis gusset will require a small amount of trimming to provide adequate clearance for the RRS rack brackets.
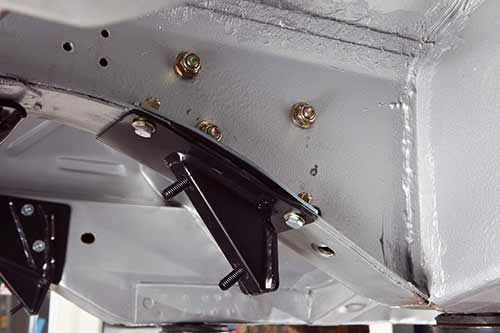
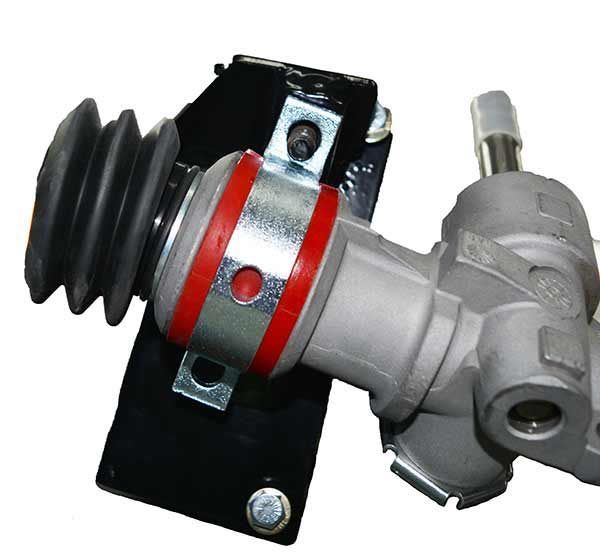
STEP 6: Install RRS conversion brackets onto the chassis rails and torque bolts to specified settings.
The Steering box nuts and bolts torque settings are 40ftlbs 55nm.
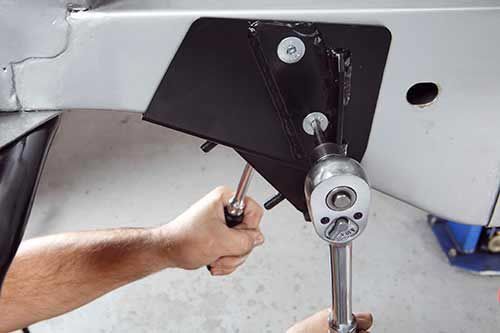
The Idler nuts and bolts torque settings are 30ftlbs 38nm.
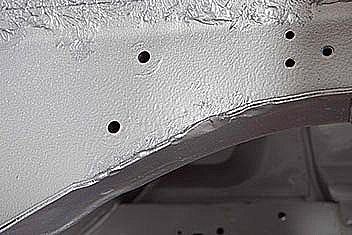
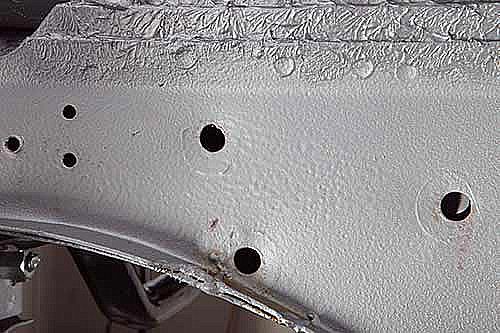
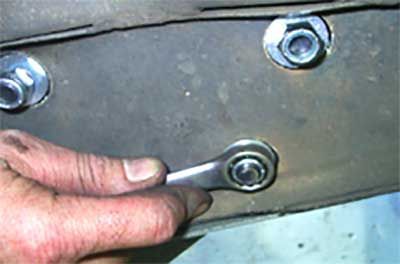
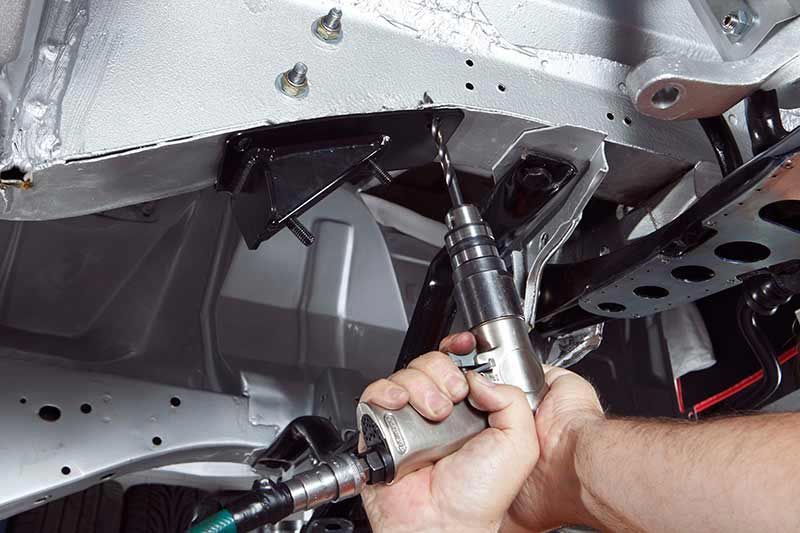
STEP 7: Using the bracket as a template drill chassis rail edge with a 8mm drill
STEP 8: Fit load spreader plate
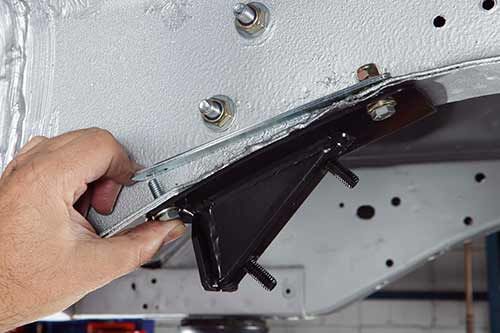
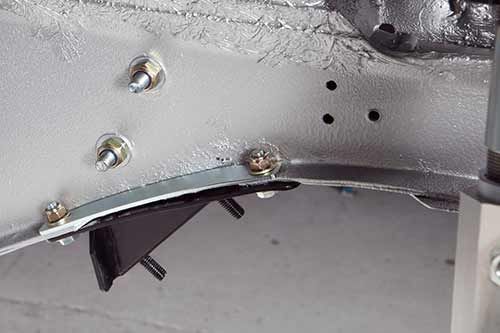
The load spreader nuts and bolts torque settings are 18-20ftlbs 22-24nm.
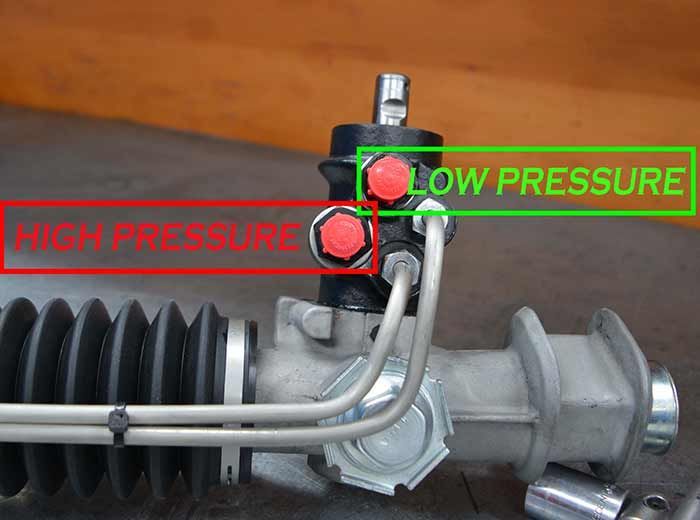
If you are fitting a powered rack it is easier to fit the hydraulic lines before bolting the rack in place.
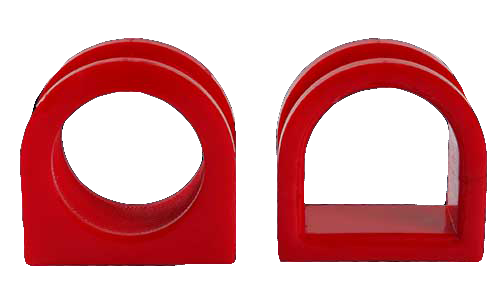
STEP 9: Fit rubber insulators to rack
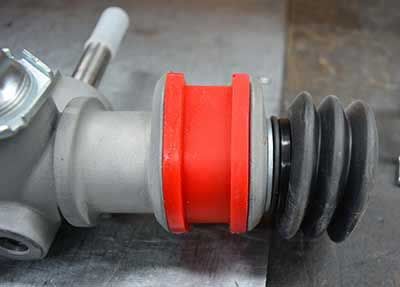
STEP 10: Fit U clamps around rack rubber and fit to up to rack checking alignment is correct to rack. If rack does not line up stop and call RRS.
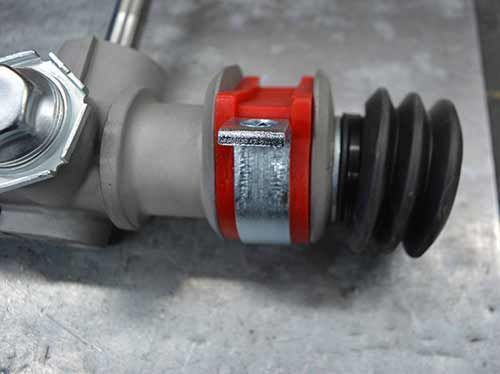
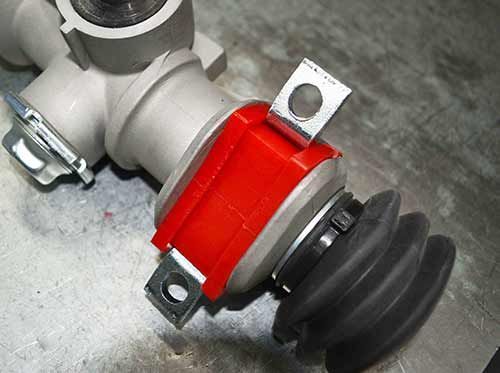
STEP 11: Install rack tighten until rack is firm against mounting bracket

STEP 12: Connect tie rod ends making sure adequate thread engagement into sleeve
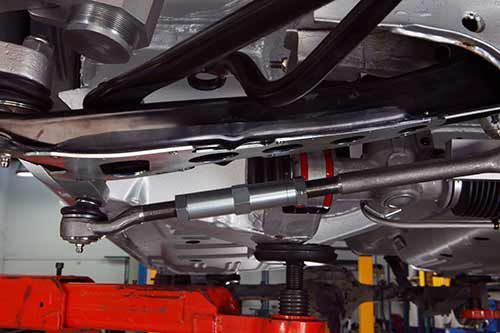
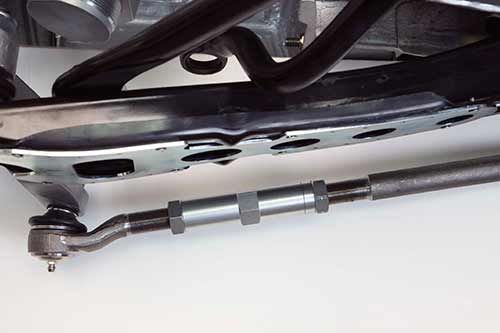
STEP 13: Tie rod end adjusters must be adjusted to allow equal range of movement (rack is centred).
Note: The RRS rack and pinion has built in steering stops and therefore OEM stops can be deleted
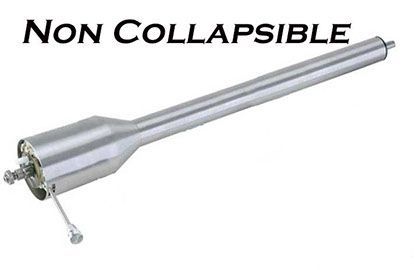
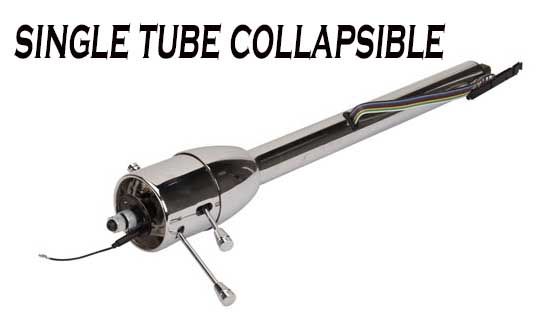
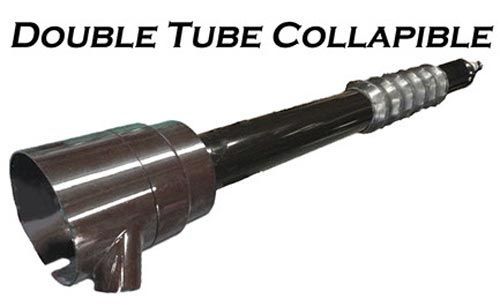
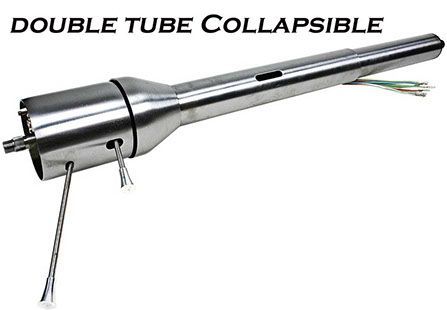
STEP 14: Modify steering column according to the type of column your car has fitted.
Revitalize Your Classic with Modern Excellence
If you have any questions, concerns, or need any parts advice, please don’t hesitate to reach out to the RRS team. We’re always happy to assist!