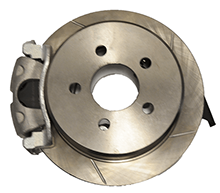
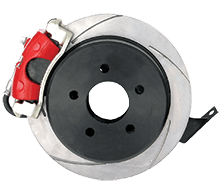
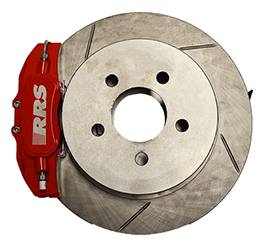
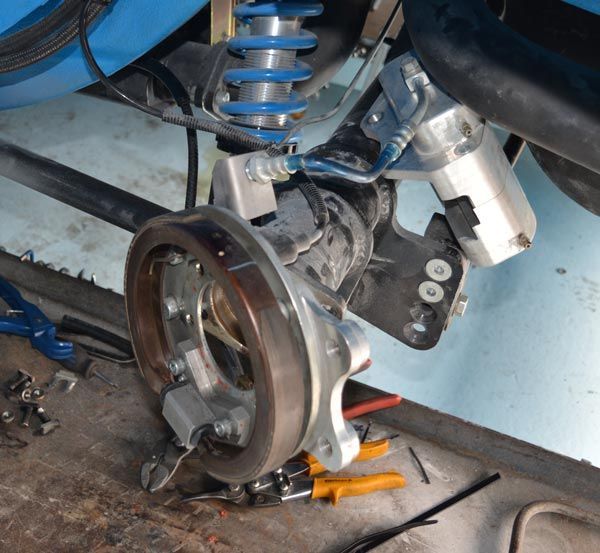
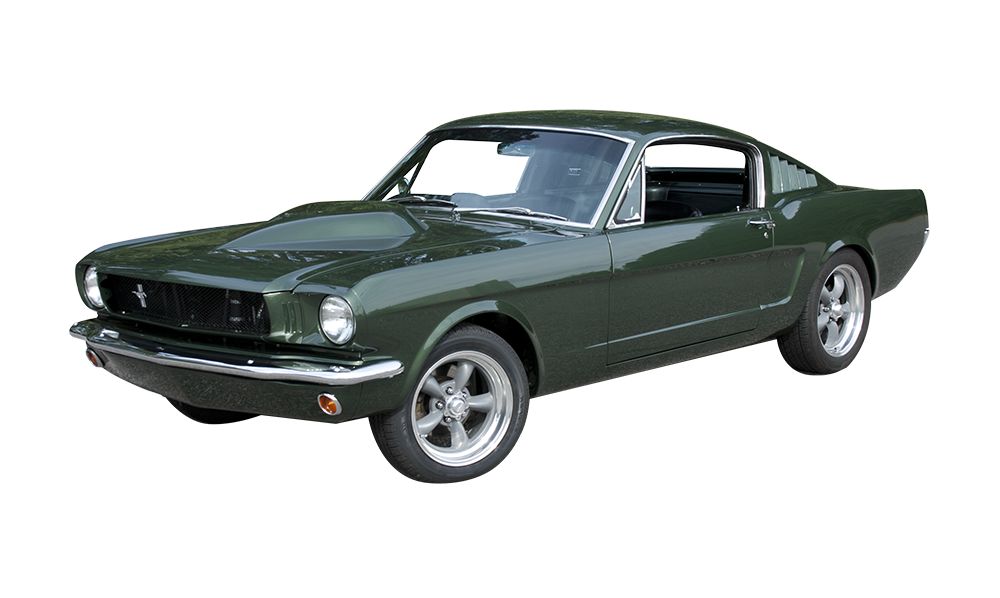
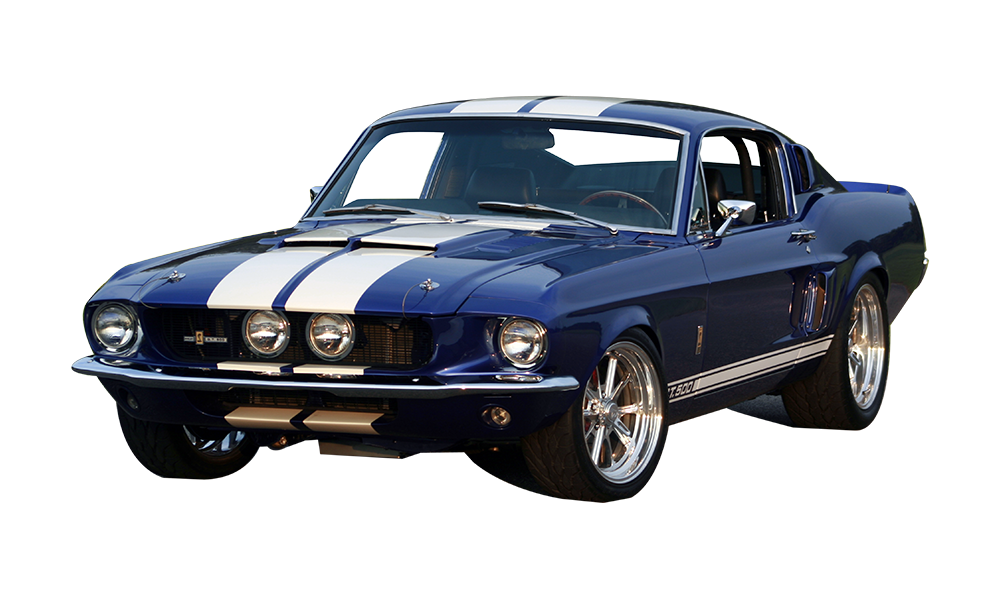
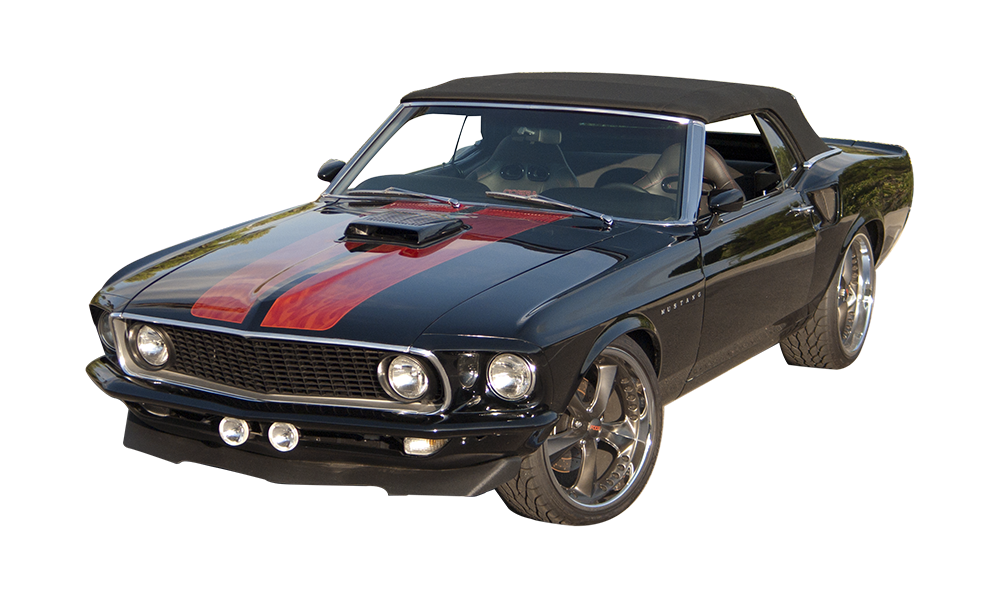
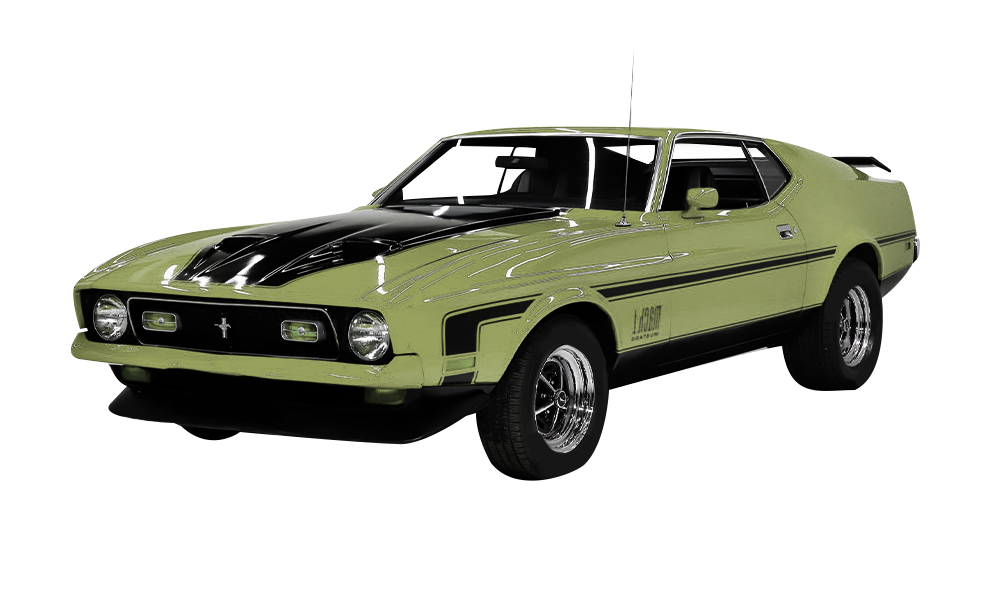
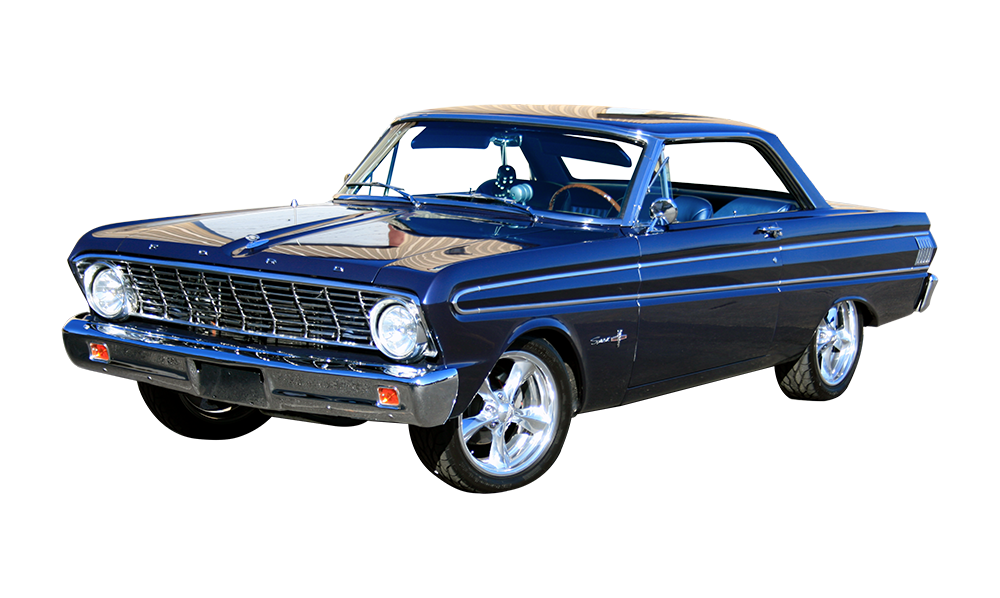
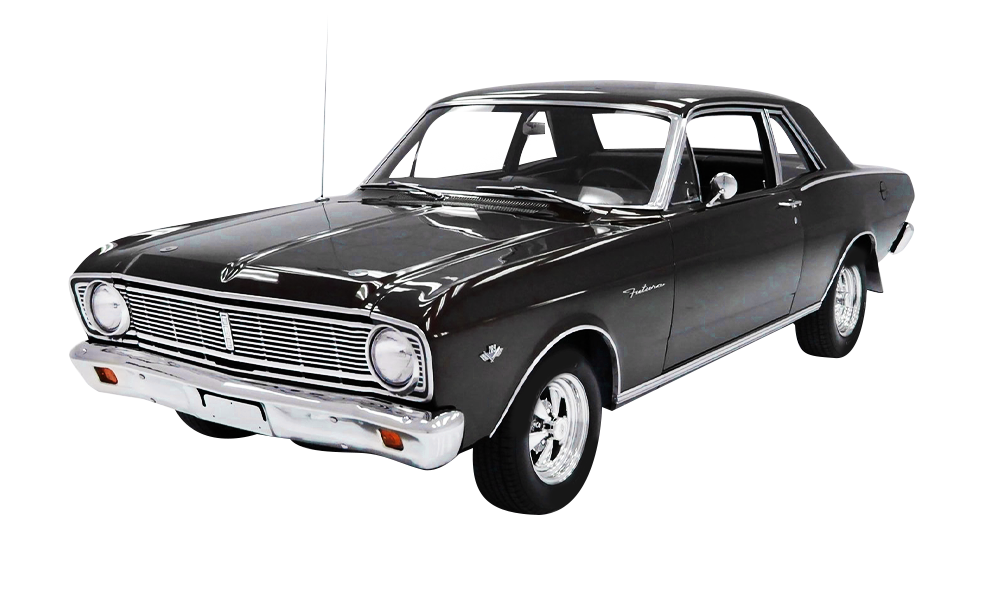
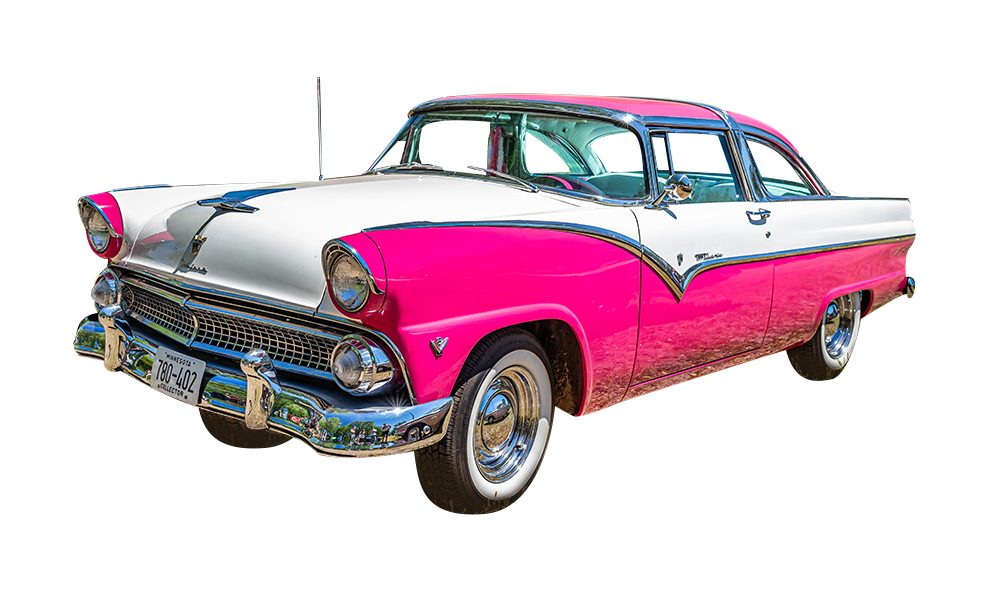
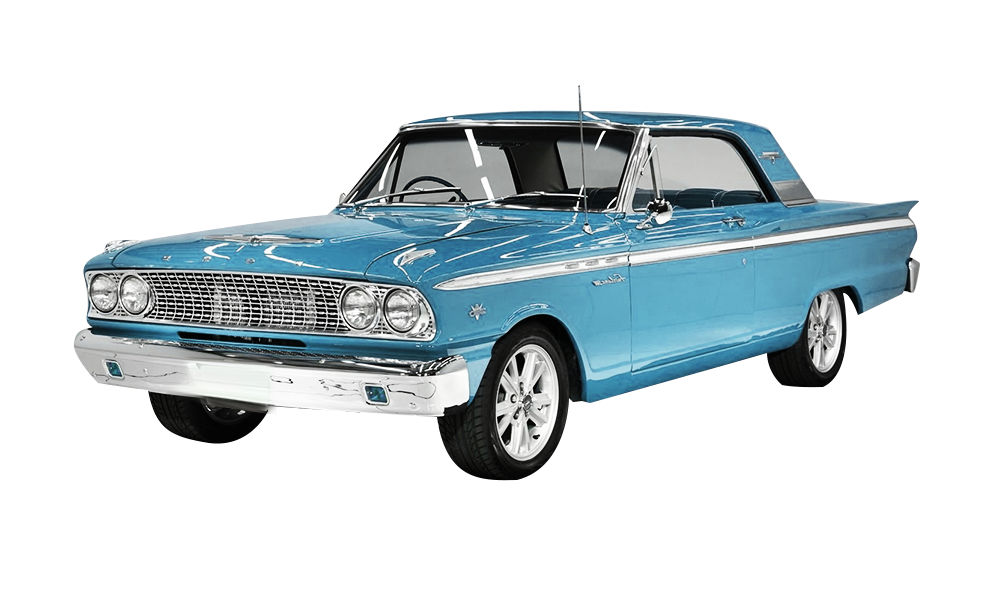
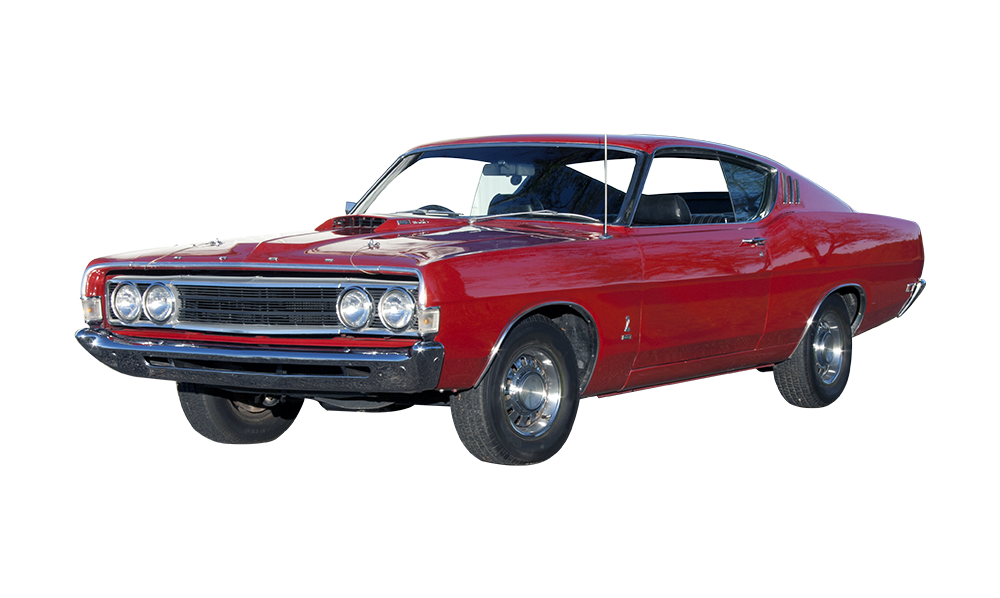
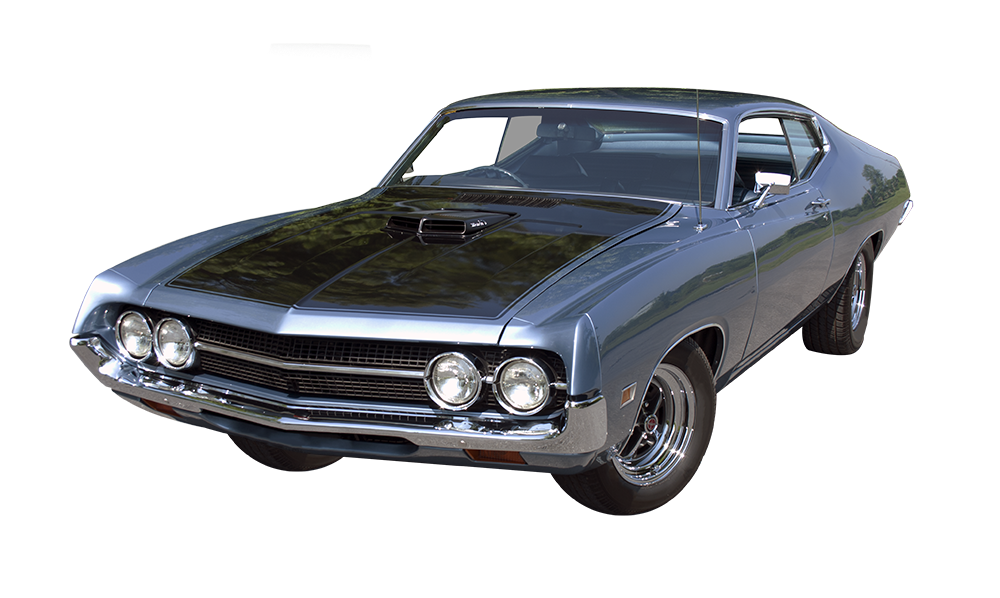
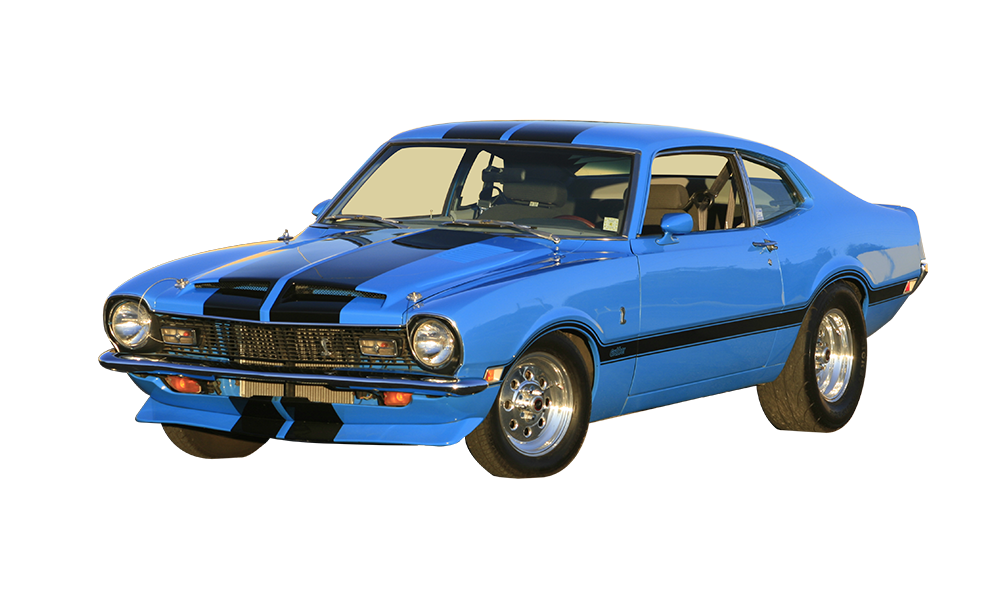
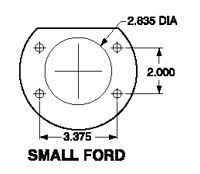
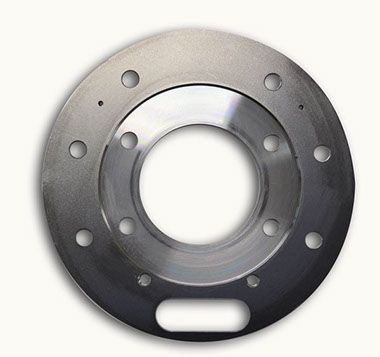
The versatile modular design of the RRS disc brake rear conversion will work with all Ford 9" differentials and wheel sizes 14" to 20". Different braking plate rotor sizes mean if you have a Ford 9", you can easily upgrade your rear brakes. The axle bearing-to-axle flange relationship is vital for correct caliper-to-disc alignment. Multiple spacers are supplied by RRS to correct alignment. RRS supply custom backing plate to line up with your diff flange bolt pattern.
The RRS Drum In Disc system means you get the best of both worlds, beautifully made, vented rotor disc brakes, and drum brakes that allow no fuss hook up to your existing hand brake assembly.
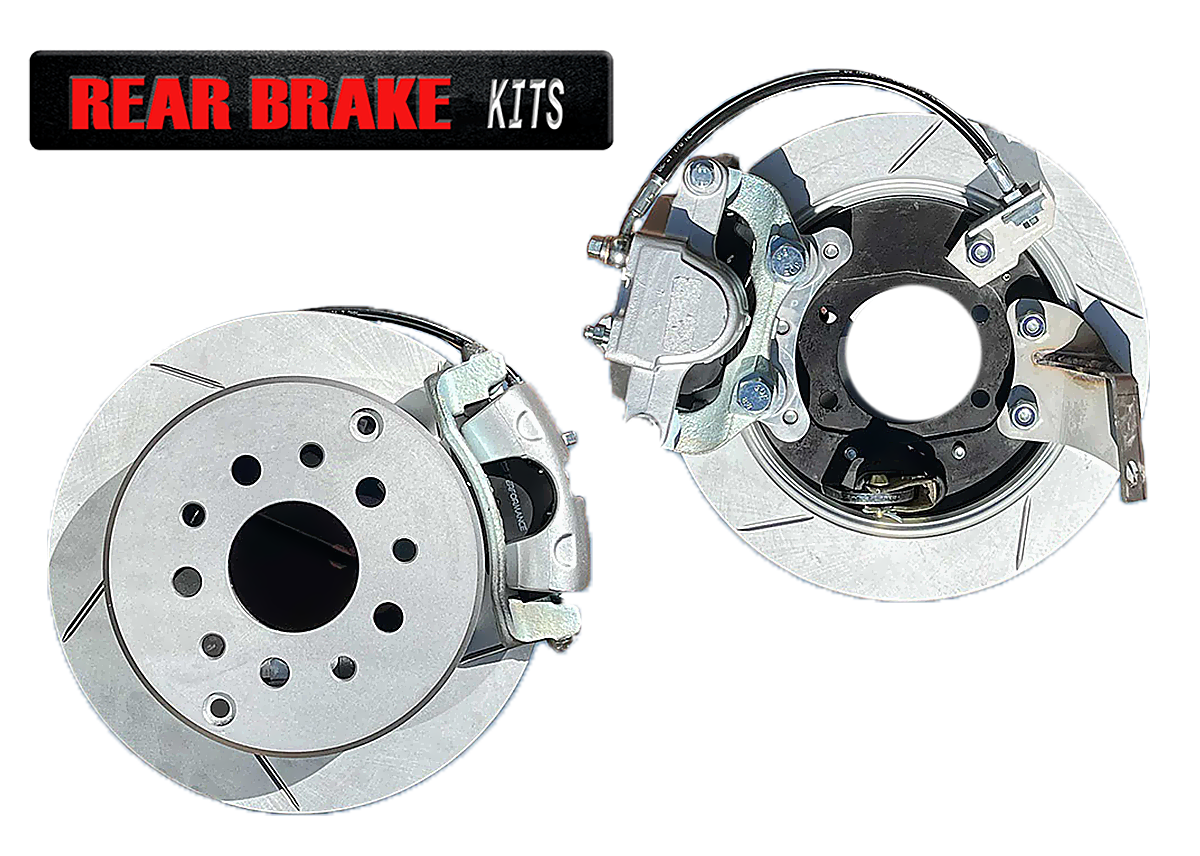
RRS offers a comprehensive range of rear brake options to suit all driving needs and budgets.
Match your wheel size and front brake size, then identify your axle flange end. Without changing your handbrake cable, you can upgrade your rear drum brake to disc, match your front brake stopping and improve the performance, safety and reliability of your classic.
The RRS Advantage
RD1 Kit Specifications
The RRS Advantage
The kits are designed to bolt on without any modifications to STANDARD Ford 9" axle housings. If the axle housing has been modified, such as: narrowed, fitted to a non-factory application, or has after-market axles fitted.
RD2 Kit Specifications
The RRS Advantage
Federal Motor Vehicle Safety Standards #106 approved stainless steel braided brake lines & fittings plus all attaching hardware.
RD3 Kit Specifications
The RRS Advantage
RD4 Kit Specifications
The first step is to have the vehicle on jack stands and the wheels and tires removed. After you remove the brake drums be sure to set them aside in a clean and safe place. Remember to label the axle shafts according to the side in which they were installed, as they are different lengths. There is an access hole in the wheel flange that allows you to get a socket on the nut that holds the axle shaft and brake backing plate in place. The rest, as they say, is a piece of cake.
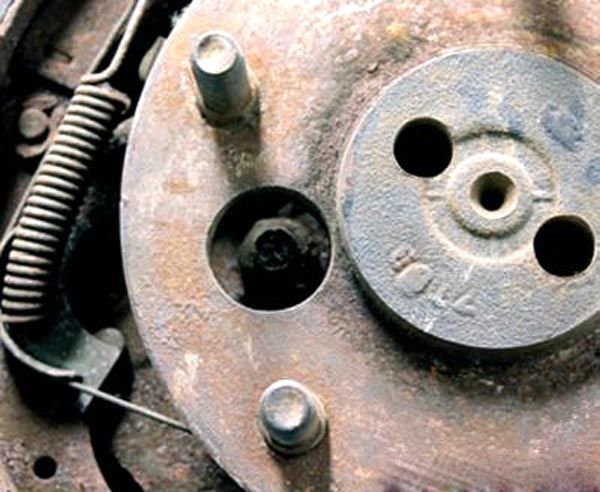
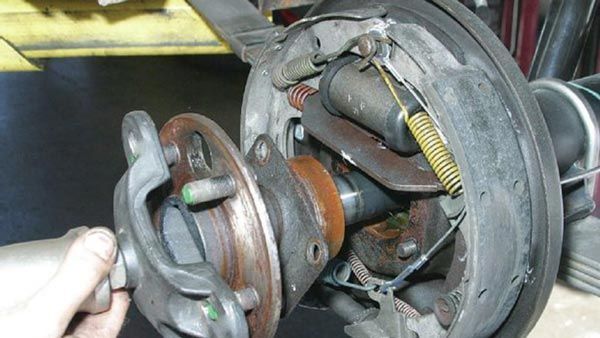
The access hole is in the wheel-mounting flange portion of the axle shaft and between two of the lug studs. Here you can see one of the nuts that retains the axle shaft. Four of these fasteners need to be removed so the axle shaft can be removed.
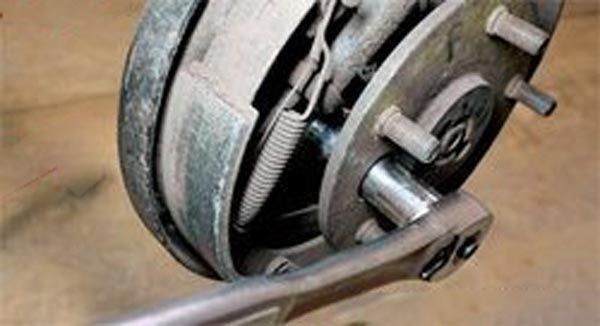
Use the correct-size deep-well socket or a shallow socket with an extension to reach in and loosen the four lock nuts nuts (a deep-well socket avoids the socket falling off the extension and having to fish the socket out from behind the axle flange). Notice that the brake hardware is in place.
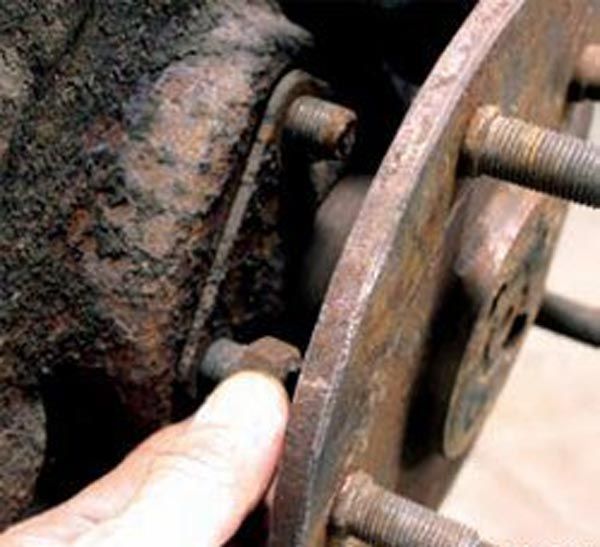
Once the nuts are loose, reach behind the flange to retrieve them. (This backing plate has the brake shoes and hardware already removed.) You can leave the brake hardware in place or remove it. Keep in mind that removing the brake hardware prior to the axle shafts makes the job a little easier. Your overall plan is also a factor. If you have fresh brakes and are going to retain the drum style, then it makes sense to leave the brakes attached to the backing plates. If you want to remove all the rust and repaint the backing plates, the brake hardware needs to be removed.
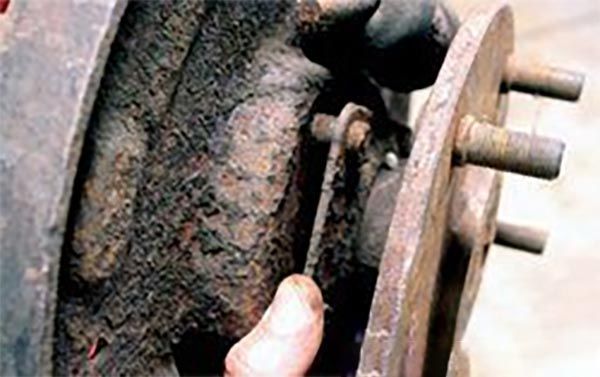
The rectangular shaped steel plate under the nuts holds the axle shafts and bearings in the housing. Once the nuts have been removed, you can lightly pull the plate loose. It is still trapped on the axle shaft, but you need to make sure it is loose. Be careful because it may move around a little.
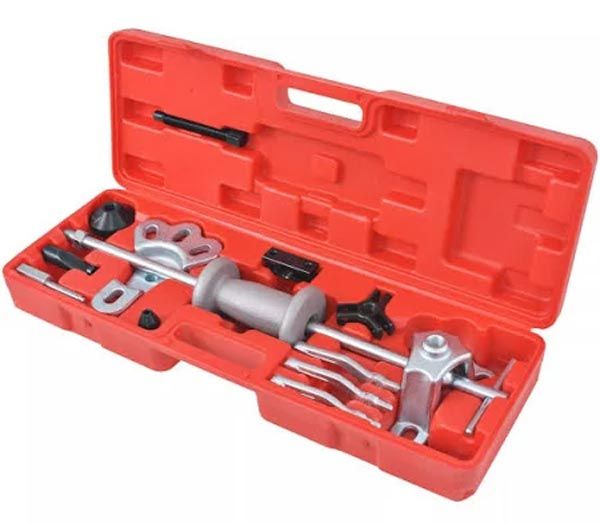
Use a slide hammer tool, such as this one, to pop the axle shaft loose. It’s a great tool to have in your workshop that costs about $70-150. You can use pry bars to dislodge the axle shaft, but be careful not to bend the plates. (Later, you’ll see how the bearing arrangement traps the plates on the axle shafts.) If you are going to re-use the bearings, the plates are also re-used. I strongly recommend replacing the bearings at the same time because it’s a minimal investment to ensure good performance.
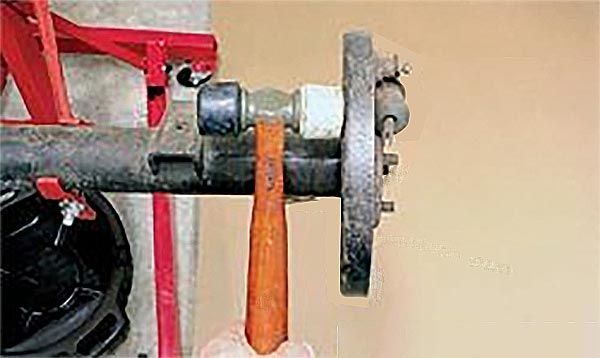
Attach the slide hammer tool to the axle shaft wheel hub. The base of the puller slips over the wheel’s studs and the bolts secure the puller to the hub. A couple of quick pulls and the shaft should be loose.
Partially remove the axle shaft. Notice how the ball bearing traps the retainer plate on the axle shaft. The retainer ring is to the left of the ball bearing. This ring keeps the axle bearing on the axle shaft.
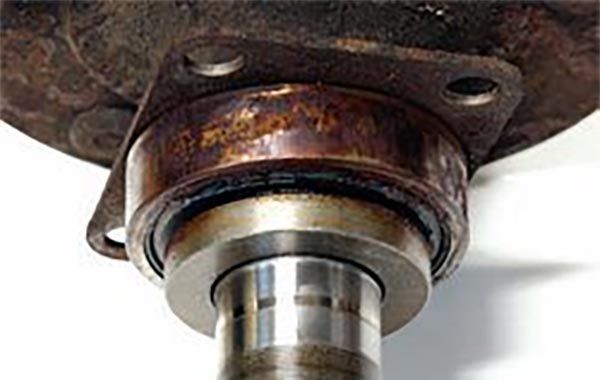
Once the axle shaft has been completely removed, inspect the bearing and seal surface. I recommend replacing the bearings for any rebuild, but if they are in good condition, you may get away with re-using them. But it’s a risk. This axle shaft uses the large ball bearing arrangement. This sealed-style bearing cannot be re-greased. You can see the wear mark from the seal. If yours has a groove, replace the shaft.
Remove the brake backing plates for cleaning and painting. (The brake lines should have already been removed from the wheel cylinders.) Lightly tap around the backing plates to remove them. They usually come off with little effort.
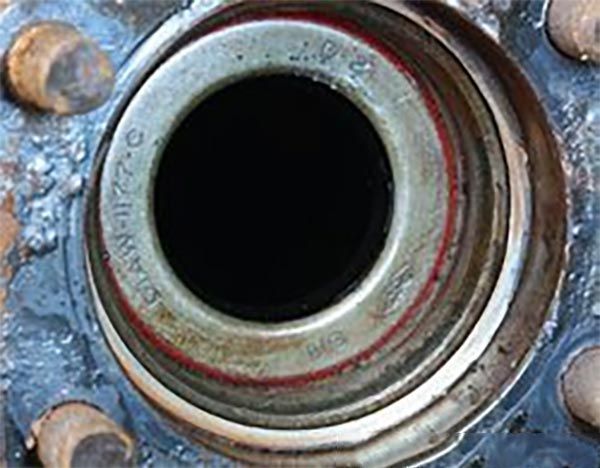
Once the axle shaft has been removed, look for the seal inside of the housing. This seal keeps the gear oil in the axle for ball bearing wheel ends. The tapered-bearing style of wheel ends do not use this seal as they share oil with the axle. Note that this axle flange shows signs of the original gasket and sealant. This needs to be cleaned off and prepped before re-assembly. The T-bolts can be pushed out now.
Remove the brake backing plates for replacement. Replacing the brake backing plate with the new RRS A, B, C or D backing plate does require removal to the retainer plate unless you are servicing the axle bearings.
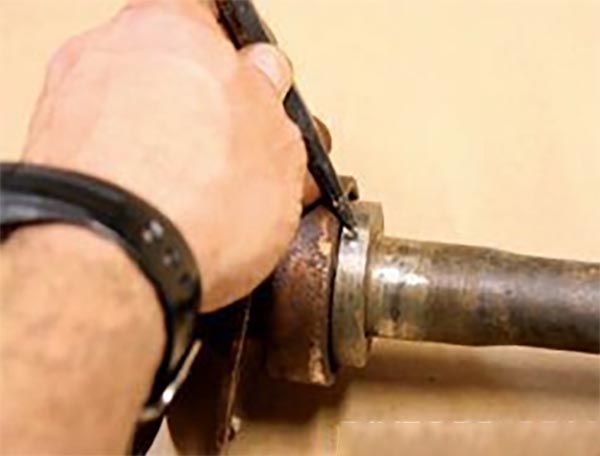
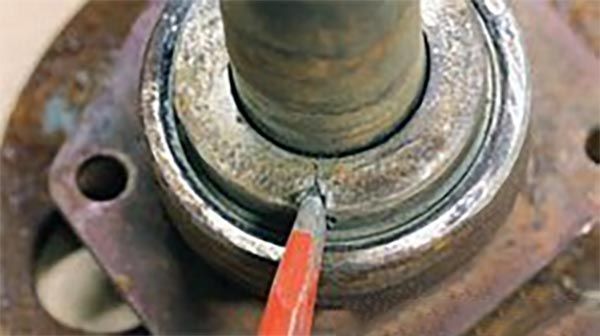
The ring has a significant press-fit, so it isn’t very easy to press off. Remember, this is holding the wheel on the vehicle, and you might have to destroy it. Centre punch on the ring in the middle of the unit acts as a guide for the drill.
Using a 1/4-inch bit drill partially into the ring making certain to center the hole. Being very careful, set the drill on a low-RPM setting and drill almost to the bottom. To avoid drilling too deep you can mark the desired depth on the bit with tape, but still stop and check often. If you drill too deep, you’ll actually drill into the axle shaft. If this happens, you need to replace the axle shaft because it creates a stress riser in a critical area, and the axle will probably break in this area.
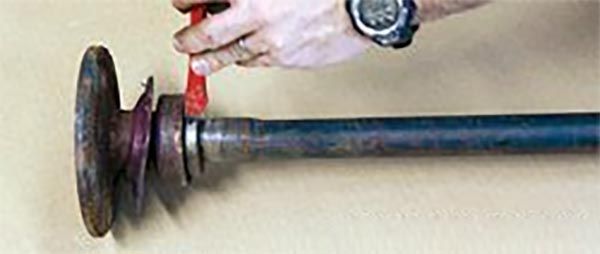
Using a hammer and chisel, solidly strike the ring at the drilled section. If you support the other side of the ring with a block of wood you can hammer away.
Here you can see the slight crack in the retaining ring. This is all that is required to relieve the press fit. Now you can use a typical bearing puller tool and shop press to remove the retainer, bearing, and plate.
If you have any questions, concerns, or need any parts advice, please don’t hesitate to reach out to the RRS team. We’re always happy to assist!
International leaders in bolt-in coil-over suspension and bolt-in rack and pinion steering systems for classic Mustang, Falcon, Fairlane, Maverick, Torino, Cougar, Comet, and other Ford classics.
The RRS bolt-in 3-Link features better geometry than any factory four-link set-up.
The RRS GT6 Rack & Pinion offers a lightning-fast ratio while retaining seamless lock-to-lock performance.
The RRS bolt-in coil-over suspension kits offer superior performance and functionality advantage over competitors' products.
The RRS Under Dash Power Brake Booster/Master Cylinder Kit has truly universal application for manual or automatic right or left-hand drives.
The original classic Ford braking system was designed for a vehicle that was lucky to reach 90kmh travelling downhill with a tailwind.
The RRS notching kit is an optional system that will increase the distance between your shock towers by up to 11 inches.
The RRS tie rod adjuster sleeve was designed to overcome the inferior factory adjustment system.
The versatile modular design of the RRS disc brake rear conversion will work with all Ford 9" differentials and wheel sizes 14" to 20".
RRS offers an all-inclusive Coyote engine conversion for your early classic Ford.
Enhance your classic Ford’s performance with RRS’s strut rod adjuster kits.
The RRS Le Mans lower control arms have been developed to give your classic Ford the best performance.
The RRS shock tower strut brace addresses the problem of classic Ford shock towers flexing under hard cornering.
The RRS billet aluminium top caps will provide a show-quality finish to your RRS strut-equipped engine bay.